-40%
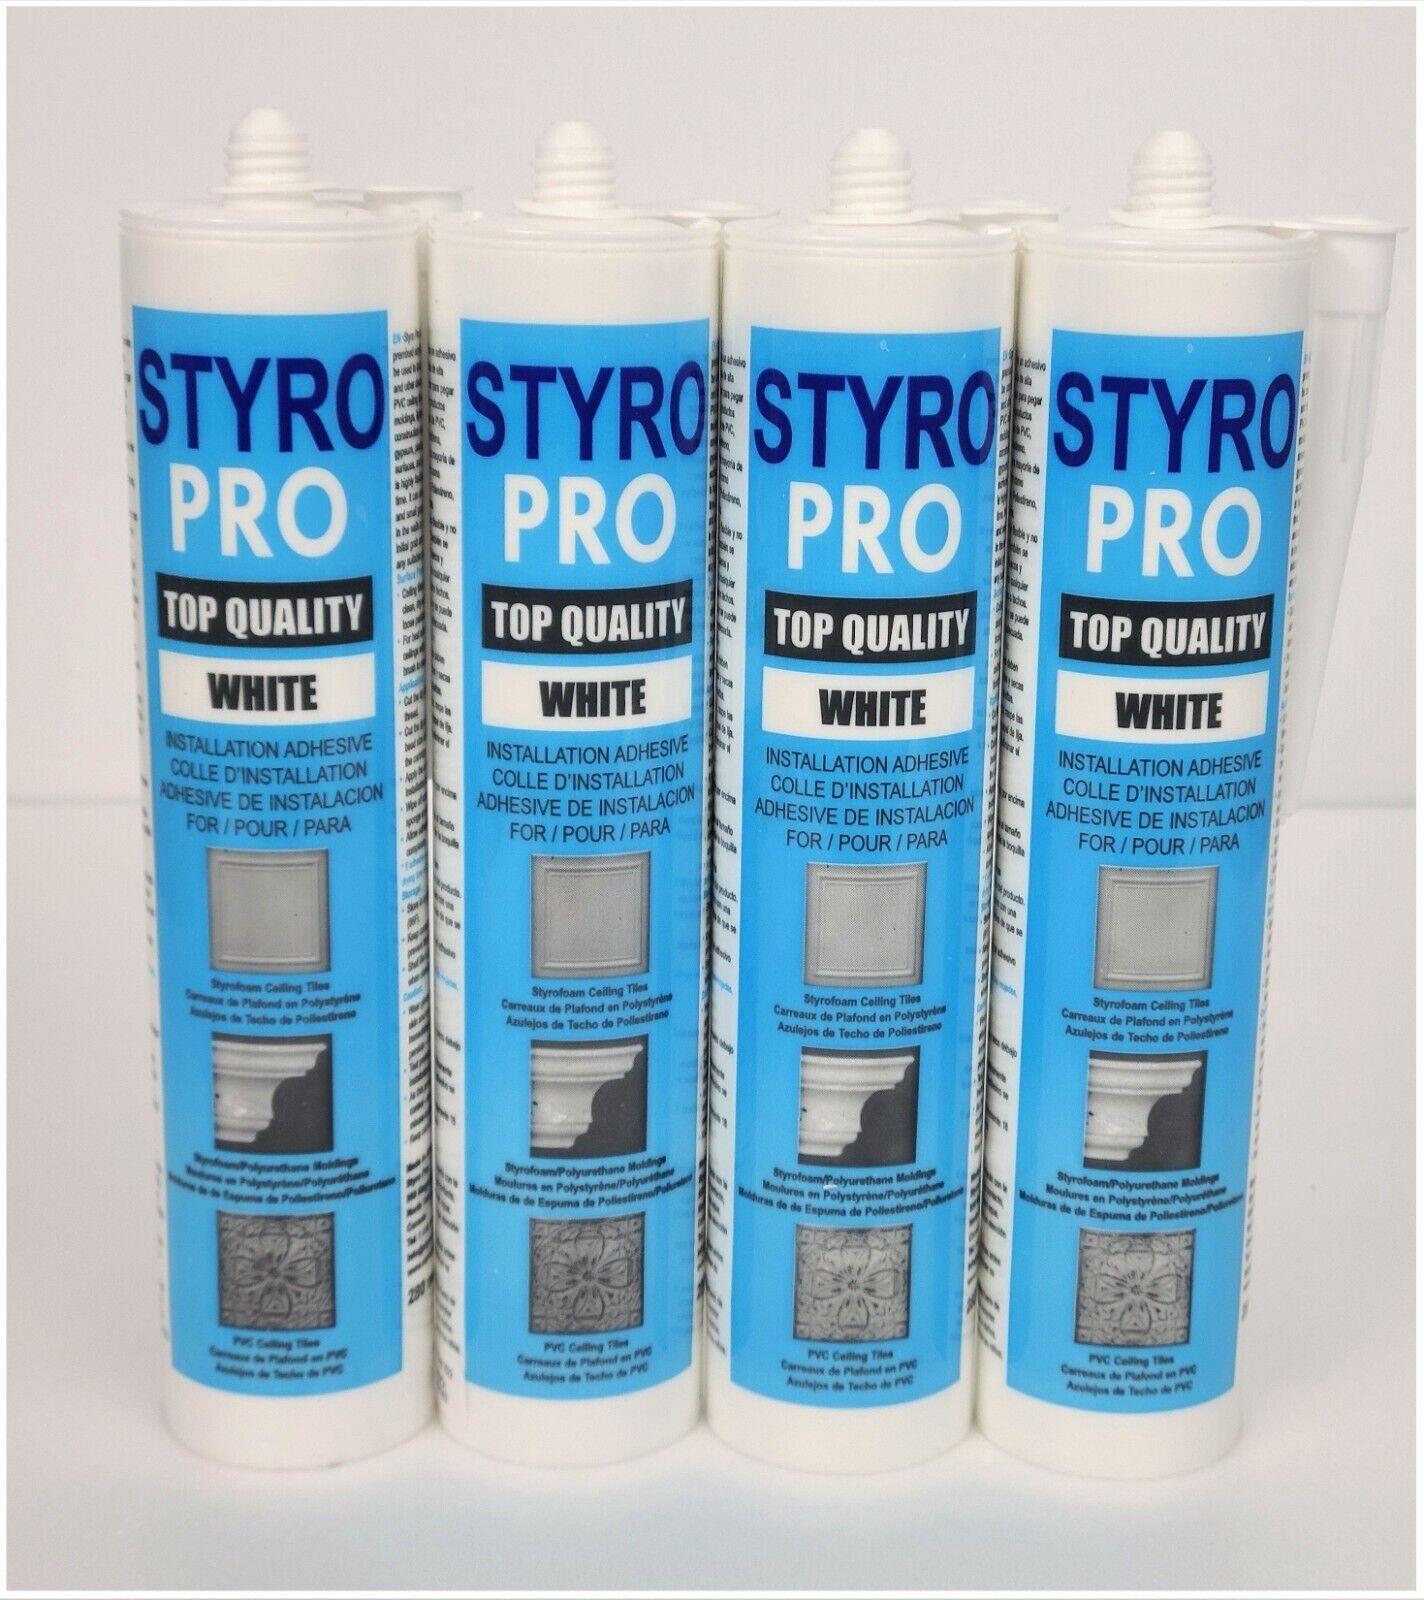
Styro Pro Adhesive. Perfect glue for Styrofoam, Polystyrene & PVC tiles. 4 Tubes
$ 19.53
- Description
- Size Guide
Description
<div style="text-align:center"><img src="http://ti2.auctiva.com/sw/java.gif" border="0"><br><table align="center"><tr><td><a style="text-decoration:none" href="http://store.auctiva.com/talissadecor"><img src="http://ti2.auctiva.com/sw/noflash.gif" border="0"></a></td><td height="27px" valign="middle" align="center"><font face="arial" size="2"><b><a href="http://store.auctiva.com/talissadecor">talissadecor</a> Store</b></font></td></tr></table></div>STYRO PRO Adhesive
This auction is for 4 tubes of Styro Pro Glue
Description
The Perfect Glue !!!
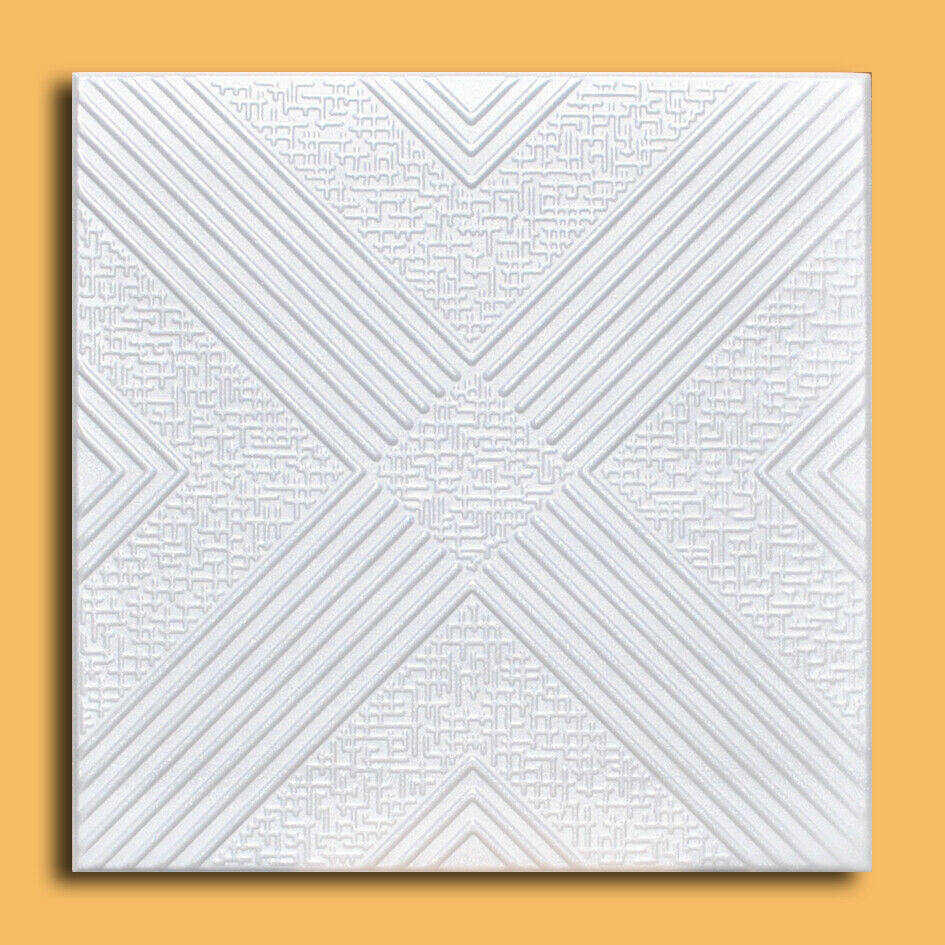
Styro Pro Glue is a high strength premixed acrylic paste adhesive that can be used to bond Our Polystyrene (Styrofoam) Ceiling Tiles, as well as other decorative products, such as our PVC ceiling tiles and polystyrene crown moldings. It also allows to glue lightweight wall panels to most construction substrates, such as a cement, gypsum, plaster, polyurethane, polystyrene, painted surfaces and wood.
This glue offers several fantastic benefits :
- highly flexible and will not crack over time.
- can
be used to fill in holes and small gaps, and any inconsistencies in the walls or ceilings.
- has strong initial grab
- can be painted over with any suitable paint
- has no smell
- great for DIY projects
- 1 tube is enough to cover 12-14 of TalissaDecor's PVC Tiles ( each tile is 2'x2'), or 14-16 TalissaDecor's Styrofoam Tiles (
each tile is
~ 20"x20" )
ENJOY YOUR WALLS & CEILINGS!!!
Installation instructions
:
Prepare the surface:
ceiling tiles should only be glued to clean, dry surfaces that are free of any loose particles. For best adhesion, roughen wall and ceilings with sand paper. Use a clean brush to remove any dust.
Apply the adhesive:
Cut the tip of the cartridge above the thread. Cut the Tip of the nozzle to the desired bead size and screw the nozzle onto the cartridge. Apply the adhesive as per product installation instructions. Wipe off excess adhesive with a damp sponge or cloth before it has dried. Allow adhesive 24 hours to dry completely.
Install the fist row along the chalk line
; take your time and make it as straight as possible, join the tiles side by side.
Work your way to the sides
; first install all the whole tiles, then cut the tiles as necessary and install the cut pieces at the end.
* If adhesive is applied to wet surfaces the drying time will increase substantially.
Please check full instructions, storage details and caution tips on the tube label !
<div style="text-align:center"><a style="text-decoration:none" href="http://www.kickitback.com/ebay-counters-buyers.aspx?how=deadcounter"><img src="http://www.sellathon.com/Resources/Images/countercredit.gif" border="0"></a></div>
